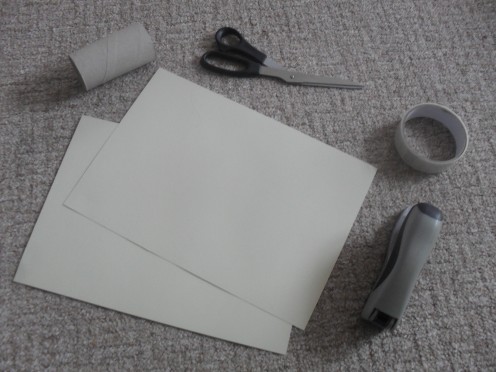
What you will need:
- 2 x A4 pieces of card (Colour is up to you but I chose yellow)
- 1 x Toilet roll holder
- Scissors
- Stapler
- Sellotape or masking tape
- Anything you need to decorate it.
How do you make a simple plague doctor's mask?Here are the instructions of how to make this simple plague doctor mask:
For the beak:
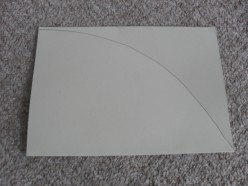
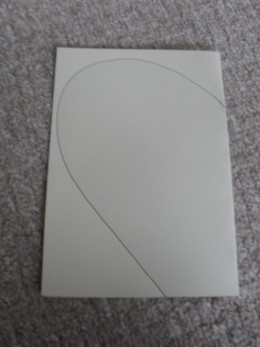
- First you take one of your A4 pieces of card. This piece of card should be folded in half along the longest side of the rectangle.
- You then place it in the landscape position with the folded edge of the card at the bottom.
- Starting at the bottom left hand corner you need to draw a curve up to the top right hand corner. (This is going to form the beak so a good round curve would be better here)
- Once this has been done then you should cut along the line you have drawn. (If the children get this right then their beak should still be in one part)
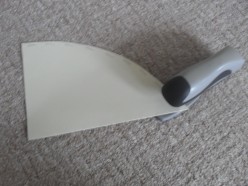
- Next you need to secure this curved edge somehow - I used a staple and placed staples all the way down to the bottom of the beak. You could use sellotape or masking tape but I felt the staples would be more secure here. (Note the back edge of the beak where it is going to join the mask should not be touched at this point.)
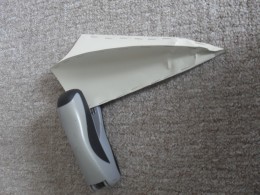
- Then instruct the children to place two fingers inside their beak. Model how they should then push down their fingers against the top of the table. This should create a 3D beak now but it will spring back into place once you let go.
- The children should fold an adge along the line they have just created all the way down to the bottom of the beak.
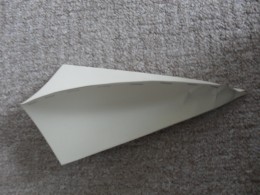
- If you tackle one side at a time this will be easier - staple along each fold they have created so the beak stays in the 3D shape. It is not necessary to go along the whole length; maybe 3/4 will do here.
- Then do the same for the other side. You should now have three edges that have staples in and if you feel you want to staple the bottom of the beak then this will create a good effect too but it is not essential.
- That is your beak made. Put this to one side until you need it again..
For the goggles:
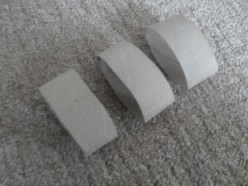
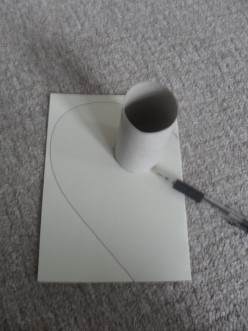
- Take the toilet roll holder and flatten it on the table.
- Cut it into three equal parts and discard one. (I used this part to help the class with the idea of sharing and recycling so they didn't just throw it away!)
- Then take one of the cylinders and open it back up.
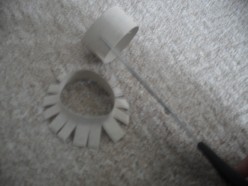
- At the top you need to cut down about a centimeter - this should be done all the way around the top to create flaps to make it easier to secure the goggles.
- Do the same for the other toilet roll holder.
- Place to one side until needed again.
For the mask:
- Take the second piece of card and lie it down landscape on the table top.
- Ask the children to fold this in half again along the longest side of the rectangle.
- Leave this in the portrait position.
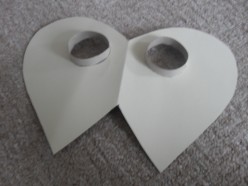
- Start from 2/3 of the way up on the folded edge of the card and draw half a heart shape. (Start a curve that goes up and around to the top of the card, then it should come back down and around until it reaches the bottom right hand corner of the card.)
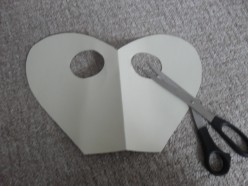
- Open it up and you should have a heart shape.
- Next you have to mark off the places which need cutting out (the google shapes and the beak shape.)
- So first place the two parts of the toilet rolls in the place where you need them for the eyes. Get a pencil and while holding it in place, draw around the outside where it sits on the piece of card.
- Get the beak and place this at the bottom of your mask - try and get it so that it fits with a nice continual line to help it look good. Then draw around the top of it on the piece of card.
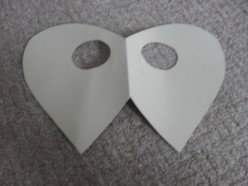
- After this is done you should cut out the goggles holes.
- To cut the circles out I asked the children to fold the card in two and then just start to cut along the line. When they have a big enough hole to put their scissors in they should then open the card up and then place the scissors in the hole and continue to cut the circle out.
- The beak shape should be cut out at the bottom too.
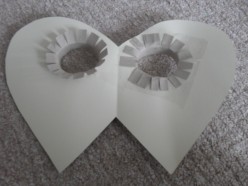
- Turn over the heart shape and then poke the toilet roll holders through. Then secure the flaps at the back of this mask by folding them back and sellotaping them down.
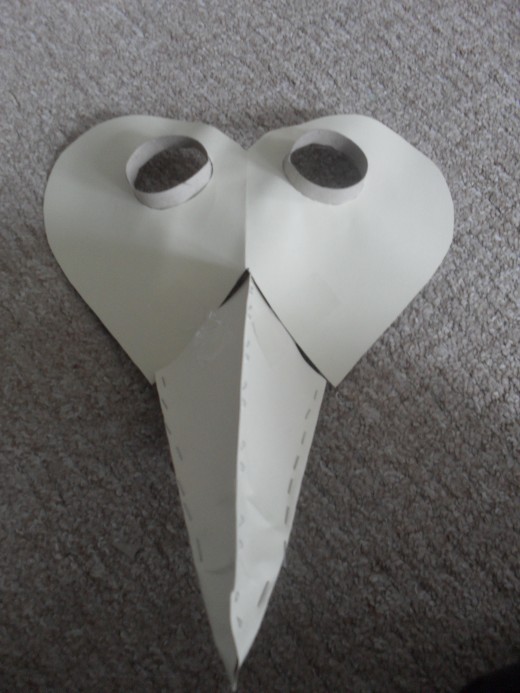
- Do the same thing for the beak shape - this can be secured with sellotape or staples, which ever you find easier. Note that if you secure it at the front of the mask then masking tape might be a better option so you can decorate it easier.